
Day 5: HTML Images, Figures & Captions
Yesterday we connected pages. Today we bring them to life.
You could build an entire website using only text, and it would work. But the modern web is visual. Images aren’t just decoration; they’re communication. They break up walls of text, explain complex ideas faster than words ever could, and give a website its personality.
But here’s the catch: slapping an image onto a page is easy. Embedding it responsibly is where beginners trip. Get the paths wrong, skip the fallback text, or ignore layout stability, and you’ll break accessibility, hurt performance, or make your page jump around as it loads.
In this post, we’ll cover how to embed images properly, write meaningful alt text, prevent layout shifts, and organize your assets like a pro. We’ll skip lists, tables, forms, and video/audio for now – those get their own dedicated posts next. Today is strictly about images, captions, and performance basics.
🎯 What You’ll Learn Today
By the end of this post, you will:
- Understand the
<img>tag structure and why it’s self-closing - Confidently use relative paths to load images from project folders
- Write purpose-driven
alttext (not just “describe it”) - Declare
widthandheightto prevent Cumulative Layout Shift (CLS) - Implement
loading="lazy"for faster initial page loads - Wrap images semantically using
<figure>and<figcaption> - Troubleshoot broken image paths and missing assets like a pro
1. The Image Tag: <img> Anatomy
Unlike paragraphs or headings, <img> is a void element (also called self-closing). It doesn’t wrap content because it is the content. The browser replaces the tag itself with the actual image file.
Here’s the baseline structure:
<img src="path/to/image.jpg" alt="Clear description of the image" />
Two attributes are non-negotiable:
src(source): The file path to the image.alt(alternative text): The fallback description shown if the image fails to load, or read by screen readers. You might see older tutorials write<img src="..." alt="...">without the trailing/. That’s valid in HTML5, but keeping the slash is perfectly fine and helps visually distinguish void elements from standard tags. Just pick one style and stick with it.
2. src Paths & Asset Organization
Image paths follow the exact same relative/absolute rules we covered for links yesterday. If you can link to it, you can point an image to it. But images have one extra requirement: organization. Never dump dozens of images directly into your root project folder. Create a dedicated directory:
day-5-practice/
├── index.html
└── images/
    ├── hero-banner.jpg
    └── team-photo.webp
Then reference it relatively:
<img src="images/hero-banner.jpg" alt="...">
A few hard rules for image files:
- Case sensitivity matters:
Photo.JPGis not the same asphoto.jpgon most live servers. Always use lowercase. - Name them intentionally:
team-photo-2026.jpgbeatsIMG_8492.JPGevery time. - Know your formats:
.jpg/.jpeg→ Photos, complex colors.png→ Graphics with transparency.svg→ Logos, icons, scalable vectors.webp→ Modern compression, smaller file sizes, widely supported
Test your paths locally before you deploy. A missing slash or typo is the #1 reason beginners stare at broken image icons.
3. The alt Attribute: Strategy, Not Just Syntax
The most common beginner advice is “always describe the image.” That’s a trap. The real question isn’t what’s in the picture? It’s what’s the picture’s purpose? Screen readers, search engines, and fallback states all rely on alt. Treat it with intent: Informative (conveys content):
<img src="q3-chart.png" alt="Bar chart showing 40% revenue growth in Q3 2026">
Functional (part of a link or button):
<a href="/search">
  <img src="search-icon.svg" alt="Search">
</a>
Decorative (purely visual, adds zero meaning):
<img src="divider-line.svg" alt="">
Notice the empty string alt="". This is intentional. It tells screen readers and validators: “This image exists, but skip it. It carries no information.” If you omit alt entirely, screen readers might read the filename out loud (IMG_8492.jpg), which is confusing and frustrating.
Quick rule: If removing the image changes the meaning of the page, it’s informative. If the page reads exactly the same without it, it’s decorative. Write your alt accordingly.
4. Dimensions & Performance: width, height, loading
You’ve probably seen pages where text suddenly jumps down as an image loads. That’s called Cumulative Layout Shift (CLS), and it’s one of the most annoying user experiences on the web. It also hurts your Core Web Vitals score.
Fix it by declaring dimensions upfront:
<img src="images/hero.jpg" alt="..." width="1200" height="630" />
These values tell the browser exactly how much space to reserve before the image downloads. The layout locks in place. You can still override these visually with CSS later (width: 100%; height: auto;), but the initial HTML attributes act as a safety net.
Next, add loading="lazy":
<img src="images/team.jpg" alt="..." width="800" height="600" loading="lazy" />
This tells the browser: “Don’t download this image until the user scrolls close to it.” It dramatically speeds up initial page load, saves bandwidth on mobile, and requires zero JavaScript. It’s native, it’s standard, and you should use it for every image below the fold.
5. Semantic Wrapping: <figure> & <figcaption>
Images rarely exist in a vacuum. Sometimes they need context. That’s where <figure> and <figcaption> come in.
<figure>
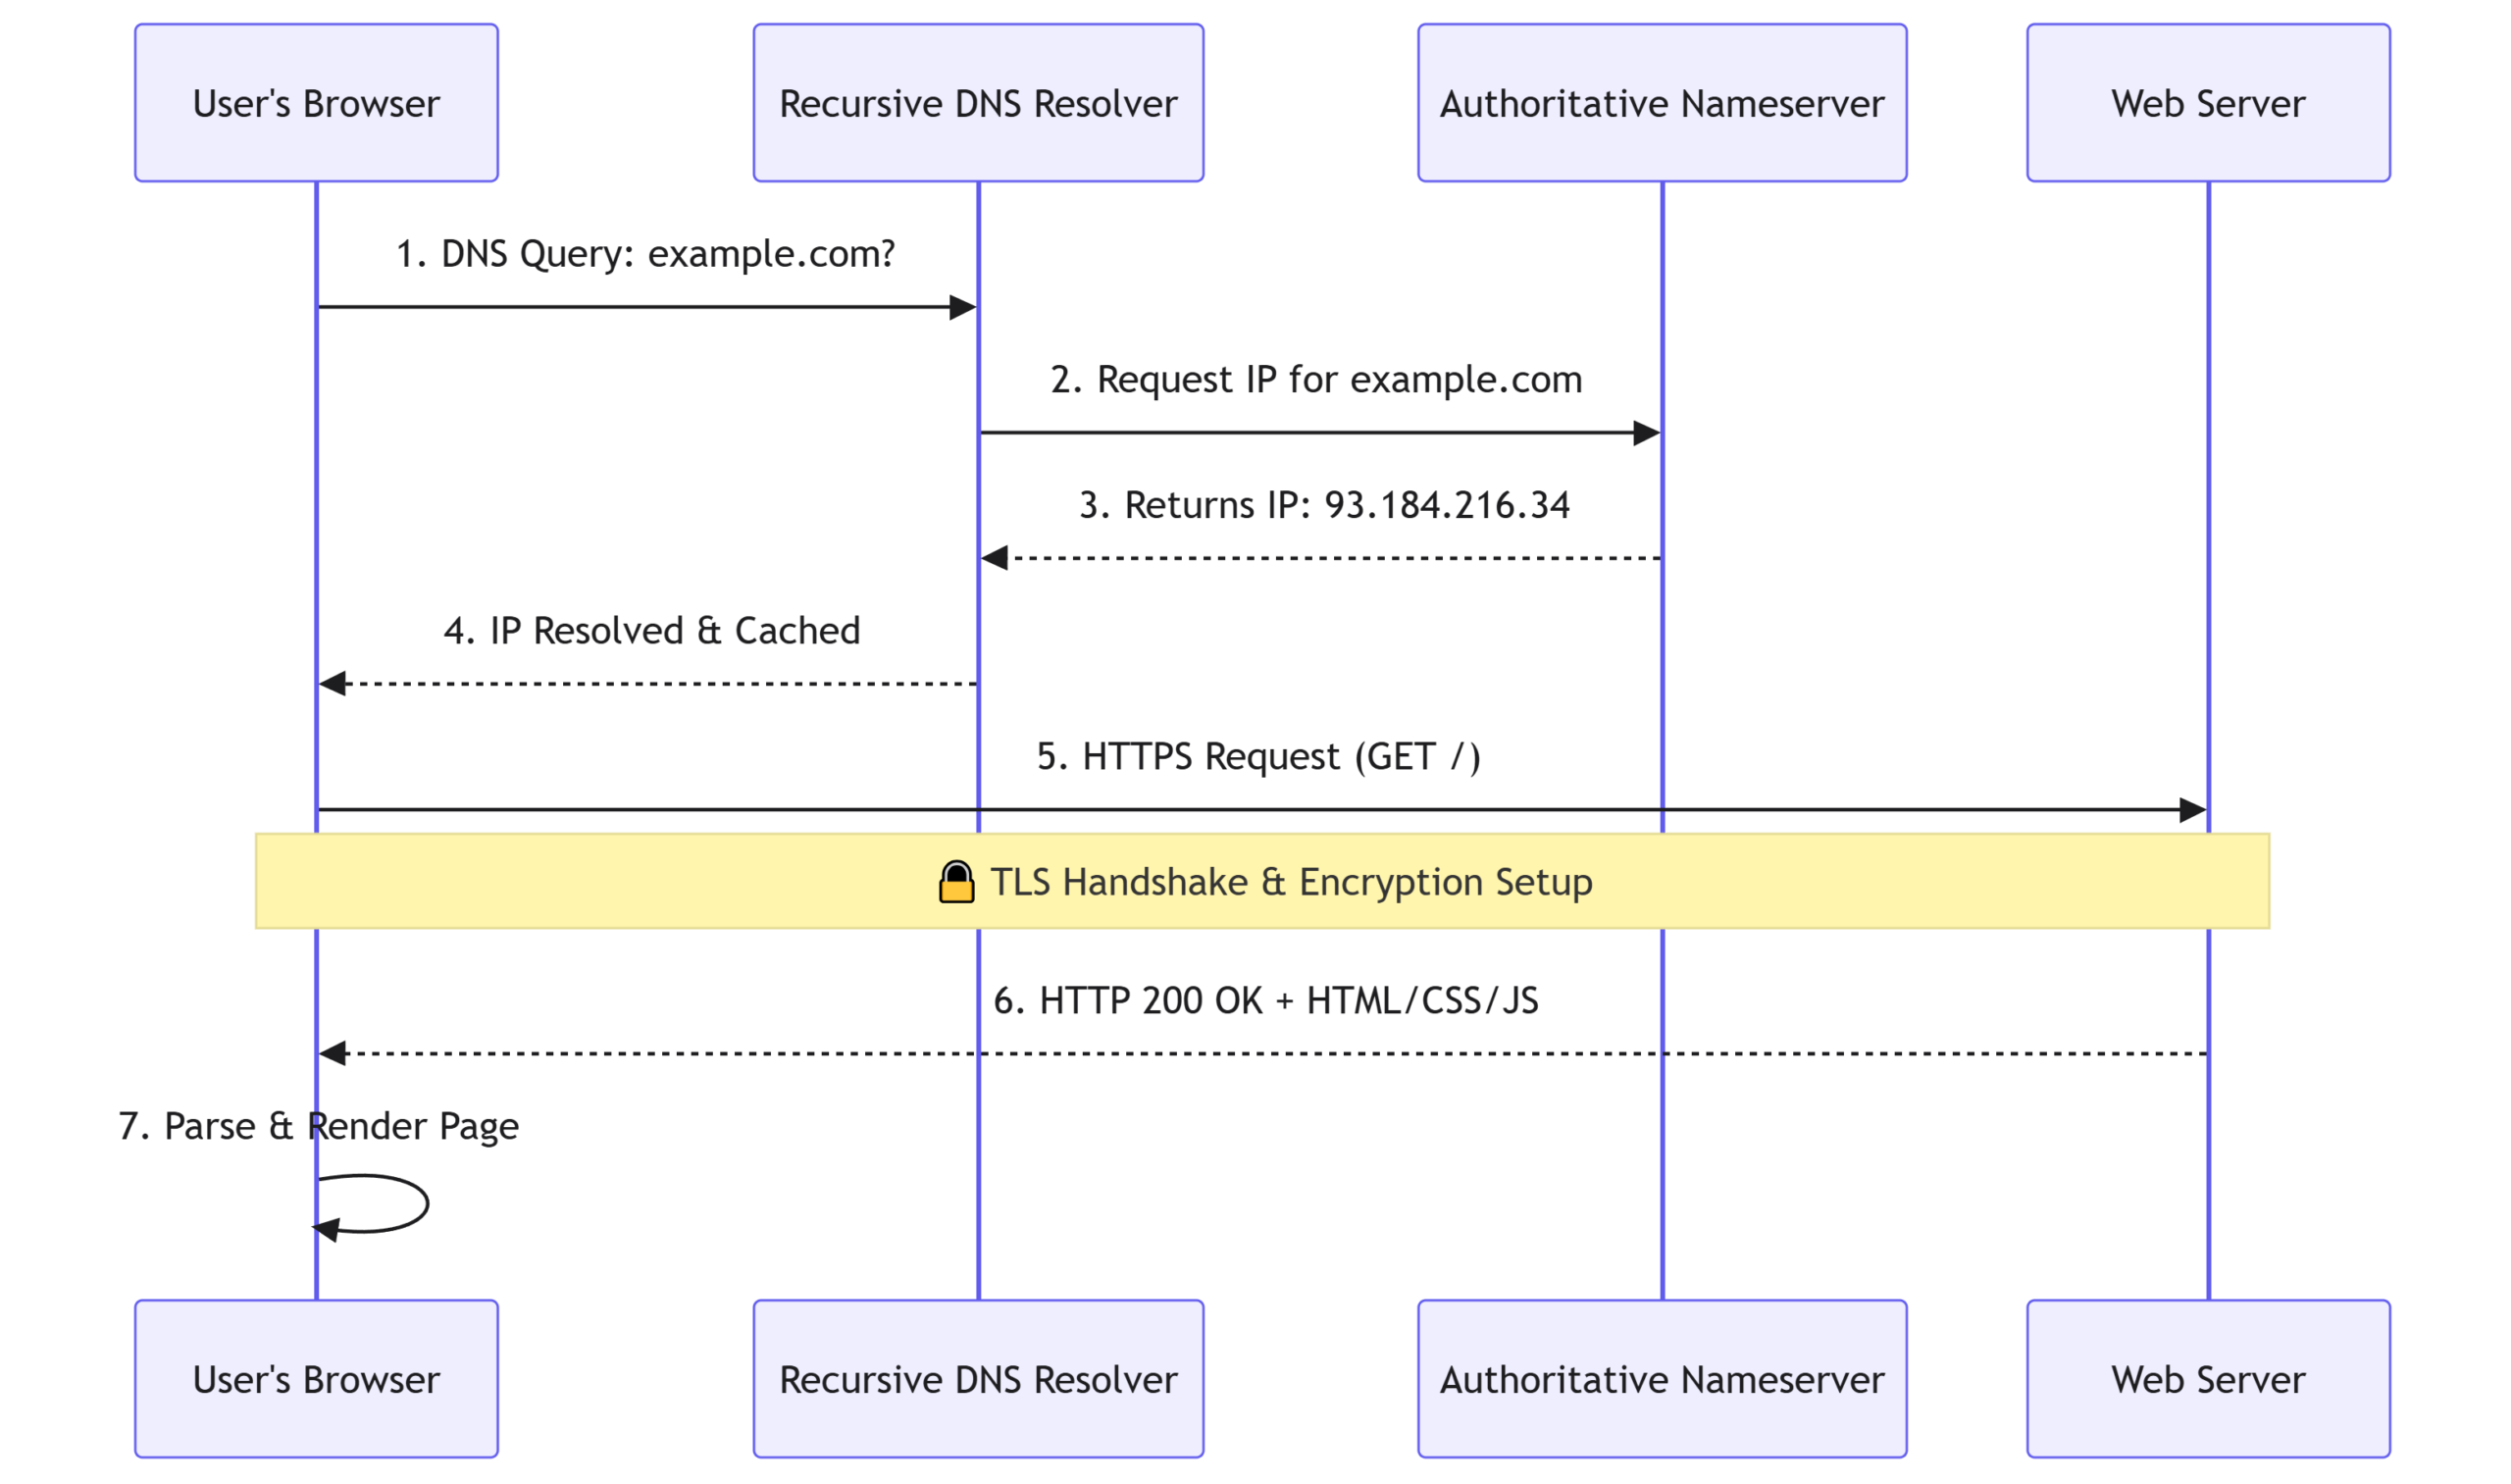
<img src="images/architecture-diagram.svg" alt="System architecture showing client, DNS, and server flow">
<figcaption>Fig 1. The request → response lifecycle</figcaption>
</figure>
<figure> groups self-contained media (images, diagrams, code blocks). <figcaption> attaches a visible caption that’s semantically linked to it. This isn’t just for academic papers. It’s for blog posts, documentation, portfolios, and any place where the image and its explanation should travel together. Browsers, crawlers, and assistive tech understand the relationship immediately.
6. Beginner Pitfalls & Quick Fixes
Let’s address the traps that break image handling in Week 1:
- Broken images (404): Wrong path, case mismatch, missing file, or server permission issue. → Fix: Check spelling, verify folder structure, open DevTools → Network tab → filter by
Img. Look for red 404s. - Missing
alt: Fails validation, breaks screen readers, hurts SEO. → Fix: Always includealt=""or descriptive text. Never omit it. - Layout shift: Forgetting
width/height. → Fix: Add pixel dimensions upfront. Let CSS handle responsive scaling later. - Using
<img>for decorative backgrounds: → Fix: Use CSSbackground-imageinstead. Keep HTML for content, CSS for decoration.
Quick debug tip: Right-click a broken image icon → select “Open image in new tab.” You’ll see the raw 404 error, exact file path, and server response. It’s the fastest way to trace path mistakes.
Your Turn: Embed & Optimize an Image
Let’s put this into practice. No copy-pasting. Type it out.
- Create a folder named
day-5-practice. - Inside it, create an
images/folder and place one image file inside (any format). - Create
index.htmlwith the standard HTML5 boilerplate. - Inside
<body>, add a<figure>containing:- Your image with a relative
srcpath - A descriptive
altattribute - Explicit
widthandheightattributes loading="lazy"- A
<figcaption>explaining the image’s context
- Your image with a relative
- Add a second, purely decorative image (e.g., a simple line or shape) with
alt="". - Save, open in your browser, and verify everything loads correctly.
Stretch prompt: Temporarily rename your image file in the folder so the path breaks. Refresh the page. What does the browser show instead? How does your alt text handle the failure? Rename it back and confirm the image reappears. That’s resilience in action.
Key Takeaways
<img>is a void element; always provide src and alt.- Organize assets in dedicated folders; use lowercase, hyphenated, descriptive filenames.
altshould reflect purpose: informative, functional, oralt=""for decorative.- Declare
width/heightto prevent layout shift; useloading="lazy"for performance. <figure>+<figcaption>provide semantic grouping for standalone media.
What’s Next
In the next post, we’ll tackle HTML Lists, Tables & Forms. You’ll learn when to use ordered vs. unordered lists, how to structure data tables properly, and how to build accessible forms that actually submit data without JavaScript.
Preview question: If you’re presenting a comparison of three pricing plans side-by-side, would you reach for a list or a table first? Why? Jot down your reasoning. We’ll cover it next.


Leave a Reply